Table of Contents
How to Delete Phonepe History | How to delete Phonepe History on Android
Are You Using Phonepe and Looking to Erase Its History for Any Reason? Look no further – in this article on “How to Delete History From Phonepe,” we explain exactly how.
We will cover various related topics in this blog that can assist with understanding how to remove phone histories step by step. Follow this step-by-step instruction on how to delete phone accounts.
Step-by-Step Instructions on How to Erase PhonePe History
1. Launch the PhonePe App
When the application has opened on your phone, sign in using your four-digit PIN (PhonePe Personal Identification Number).
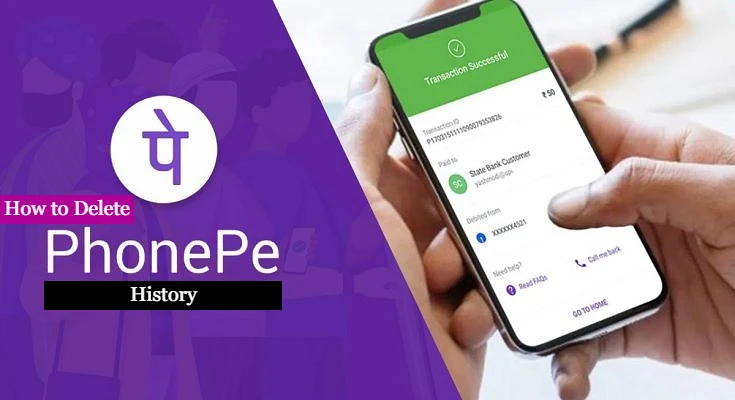
2. Visit Transaction History
Once authenticated after signing in, you’ll be taken directly to the homepage screen, where a “History” tab at the bottom allows access to your transactional history. Click it now!
3. Select the Transaction
You Wish to Delete. Browse your history of transactions to locate one you would like to delete; when found, right-click and choose the transaction that should be erased from its list and click to “delete it.”
4. Touch the “Delete Button”
Once you have selected your transaction, a delete button can be found at the lower-right of your page; tap this to delete your transaction.
5. Confirm Delete
When tapping the delete icon, a message confirming deletion may pop up asking whether you wish to proceed with its erasure of transactions. Clicking ‘Yes’ confirms your wish and erases them permanently from your records.
6. Remove Multiple Transactions
If you would like to erase multiple transactions at once, all it takes to do so is to select them all before pressing Delete and selecting that action button on the page at its conclusion. When asked for confirmation, click Yes to confirm and erase everything at once.
7. Delete all transactions
To delete all transactions from your history, press the ‘Clear All’ icon at the lower-right of your page. When clicking, a confirmation window will pop up, allowing you to confirm this action by selecting ‘Yes”. Doing this will delete everything.
8. Clean the History of Your Transactions
Automatically To automatically clean up the history of transactions regularly, select the Auto Clear History feature of PhonePe. To activate it, go into your profile section of PhonePe and access its Settings – Transactions section, where there will be the Auto Clear History feature; when started, click this and choose how often your history of transactions should be automatically cleared away.
9. Logout of PhonePe
Once your transaction history is in order, sign in to the PhonePe application to protect it further by signing out via the profile tab and selecting Logout on PhonePe itself.
10. Uninstall the PhonePe Application.
If you no longer wish to utilize the PhonePe application on your phone, its removal can be easily accomplished. Navigate into your settings on your device, choose Apps, then locate and tap upon PhonePe before finally tapping “Uninstall.” This should do it!
How to Delete PhonePe Account [Step by Step Guide] To close down your PhonePe account, follow these steps.
Launch the PhonePe app on your mobile. Touch the horizontal three lines (hamburger menu) in the upper right corner. In the left menu, click “My Account,” followed by “Profile,” before finally tapping “Close Account” near the end of the page.
Choose an account closure reason on the next screen and add any comments (optional).
Please tap “Submit” to submit the closure request for your phone account. Before closing it down, ensure you transfer any balance in your wallet to an account at a bank; once closed down, it won’t be refundable, nor can any current transactions or payments be resumed after account cancellation.
How Can You Reactivate Your Phonepe Account?
Step 1: Reactivation
To reinstate your PhonePe accounts, the initial step must be contacting PhonePe Support. You can do so either through their Help Center on their website or by emailing them directly at the support department address with information about your account and stating your intent to reinstate it.
Step 2: Confirm Your Identity
PhonePe support may ask a user to verify their identity to validate that you own their account. They might request proof, such as providing their registered number or email address.
Step 3: Wait For Reactivation
After verifying your identity, PhonePe support staff will initiate the activation process for your account. Please allow up to 3 business days, depending on its complexity, and any requests received by support staff, to reactivate it fully.
Step 4: Log into Your PhonePe Account
After activating your account with PhonePe, you are now ready to log in using your registered number and password. This means you should have full access to its features and services while making payments or conducting other transactions through PhonePe.